


Understanding Google Workspace MX Records
Setting up Google Workspace requires configuring your domain’s MX records effectively. This process is crucial for ensuring that your email communication is handled correctly. MX records dictate how emails are directed to your domain, so a proper setup is vital.
Creating MX Records with Google Workspace Post 2023
 Create an MX record:
-
- Priority: 1 Destination: aspmx.l.google.com
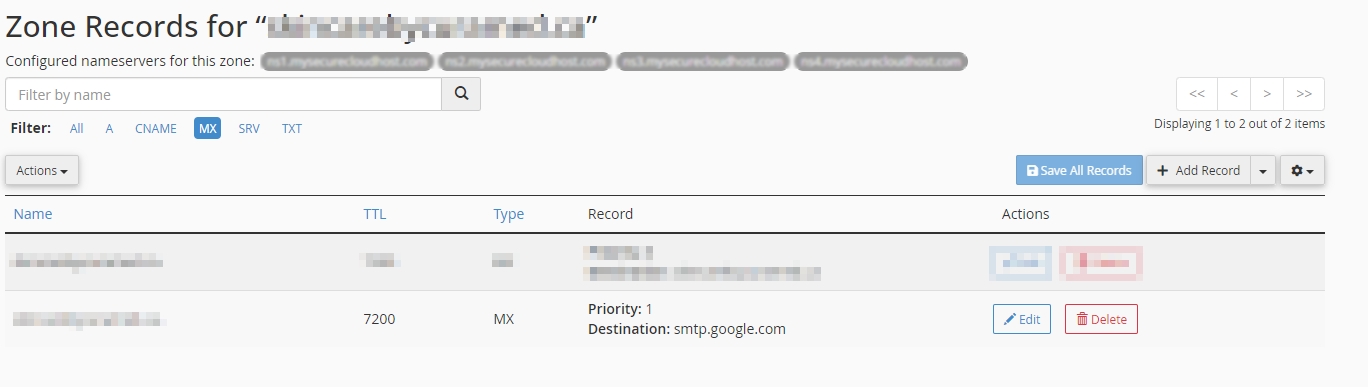
Creating MX Records with Google Workspace Pre-2023

CPanel display example
To create MX records, follow these steps:
1. Access your domain’s DNS settings through your domain provider.2. Create the following MX records:
- Priority: 1 Destination: aspmx.l.google.com
- Priority: 5 Destination: alt1.aspmx.l.google.com
- Priority: 5 Destination: alt2.aspmx.l.google.com
- Priority: 10 Destination: aspmx2.googlemail.com
- Priority: 10 Destination: aspmx3.googlemail.com
Each record must be entered with appropriate priority to ensure that mail routing operates smoothly.
Setting Up TXT Records for Domain Verification
In addition to MX records, you should also configure TXT records for domain verification. Here’s how to do it:
Create a TXT record with the following details:
- Type: txt
- Value: “verify=yourdomain.com”
- TTL: 14400 (or your chosen time-to-live)
Following these steps for your Google Workspace MX setup will ensure reliable email service for your domain. Proper configuration pre and post 2023 is essential for maintaining email functionality.